Key Takeaways
-
Before brackets go on, your orthodontist reviews your bite and takes photos, X-rays, and digital scans to build a custom treatment plan, so ask about a free consultation to get started.
-
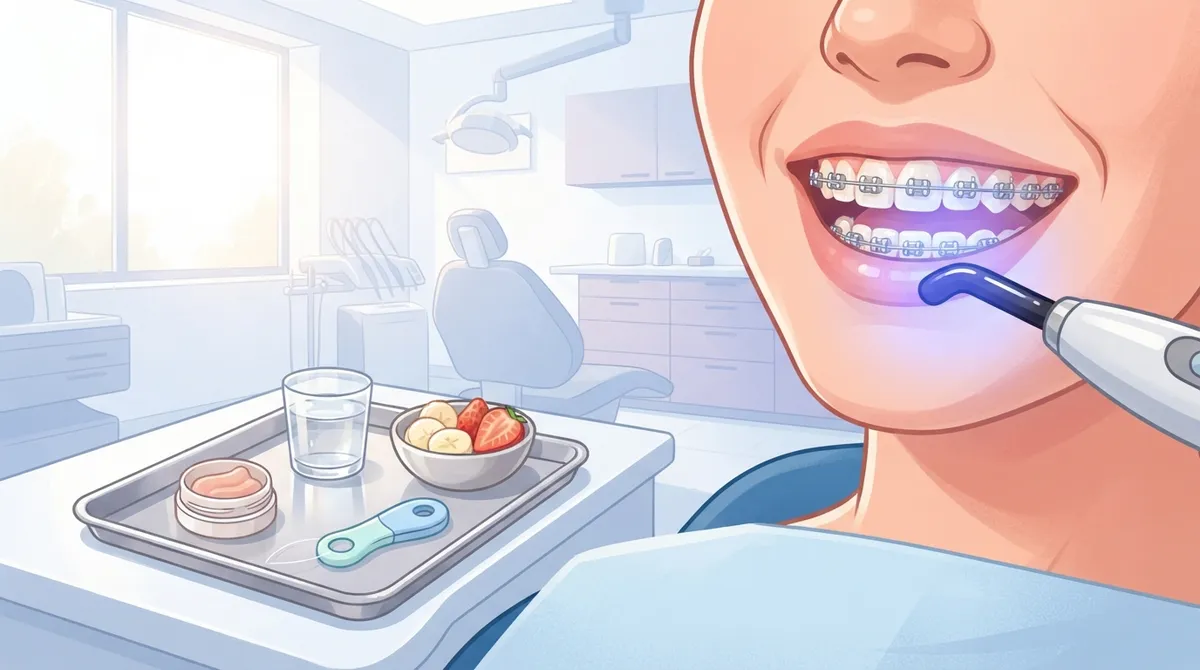
Braces installation is typically painless: teeth are cleaned and dried, brackets are bonded with adhesive and set with a curing light, and the whole fitting usually takes about one to two hours.
-
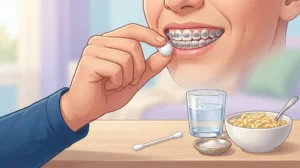
Expect tenderness a few hours after the appointment and for the first few days; soft foods, orthodontic wax on rubbing spots, and warm salt water rinses help, along with a pain reliever only if your orthodontist approves.
-
Avoid hard, sticky, and chewy foods like popcorn, hard candy, caramel, and ice, since they can break brackets or bend wires.
-
Brush after meals and before bed angled toward the brackets and gumline, and clean between teeth daily with floss threaders, a water flosser, or interdental brushes.
-
Plan on adjustment visits every 4 to 12 weeks, and wear your retainer as directed after braces come off, because teeth tend to drift back to their original positions.
Getting braces is a big moment. Maybe you’re a parent helping your child, a teen picking out colors, or an adult who finally decided it’s your time. Whatever your story, one question probably keeps popping up: what actually happens on the day braces go on?
The good news? The braces installation process is more comfortable and way less scary than most people expect. There are no needles, and you walk out with a brand-new smile in progress.
In this friendly guide, we’ll walk you through every step. You’ll learn what happens before, during, and after your braces appointment. We’ll also share simple tips for eating, cleaning, and staying comfortable. At Chacon Orthodontics, we love helping families feel ready, so let’s get you ready too.
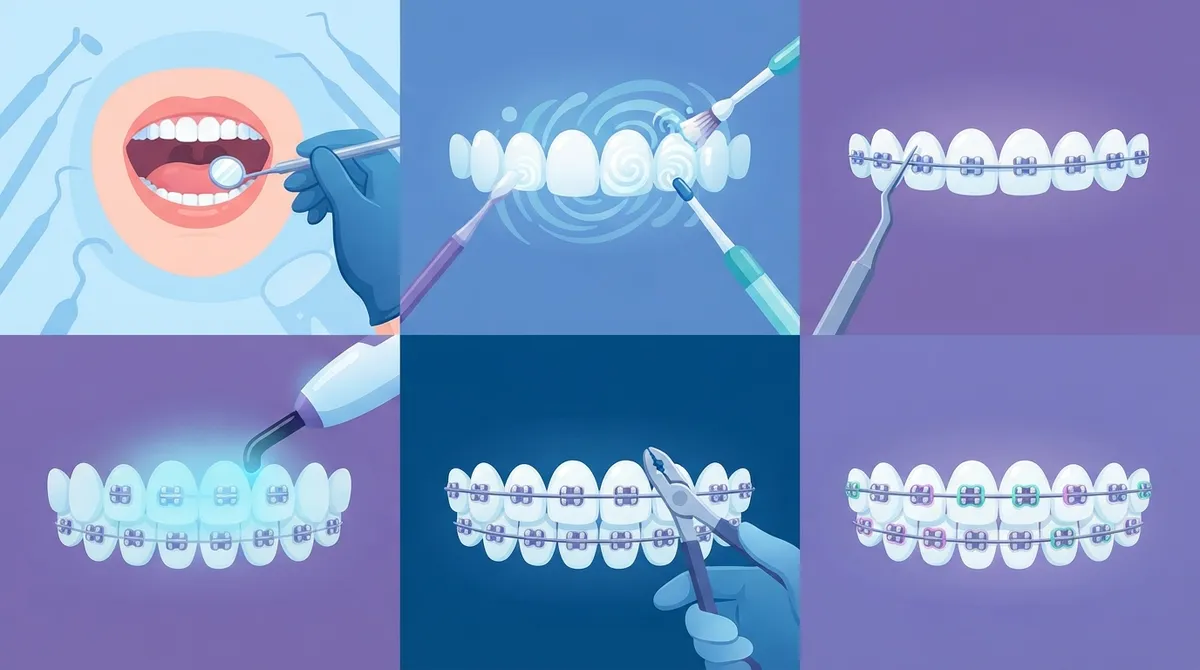
The Braces Installation Process at a Glance
Before we dive deep, here’s a quick snapshot. Braces are small brackets bonded to your teeth and linked by a wire. That wire applies gentle, steady pressure to guide your teeth into better positions over time.
| Step | What Happens | Why It Matters |
|---|---|---|
| 1. Consultation and records | Exam, photos, X-rays, scans | Builds your custom plan |
| 2. Oral health check | Cavities and gums are checked | Keeps teeth healthy under braces |
| 3. Teeth cleaning and prep | Teeth are cleaned and dried | Helps brackets stick well |
| 4. Bracket bonding | Brackets are glued on and set with light | Creates the “handles” for movement |
| 5. Archwire placement | Wire is threaded and secured | Starts moving your teeth |
| 6. Aftercare coaching | You learn how to clean and eat | Protects your braces and smile |

1. The Consultation and Diagnostic Records
Every great braces journey starts with a conversation. Before any brackets go on, your orthodontist needs to understand your smile, your bite, and your goals.
During this first visit, the orthodontist looks at how your teeth line up and how your top and bottom teeth fit together. They also check your overall oral health. To build a full picture, they may take:
- Photos of your face and smile
- X-rays to see roots, jaw bones, and teeth that haven’t come in yet
- Digital scans or impressions of your teeth
These records help create a treatment plan made just for you. Want to know what this first meeting feels like? Our guide on what to expect at an orthodontic consultation walks you through it.
Here’s something many families love: we offer a free consultation, so you can ask every question with zero pressure.
2. Getting Your Mouth Ready for Braces
Think of this step like prepping a wall before painting. The surface needs to be healthy and clean first.
Before braces go on, any active tooth decay or gum disease should be treated. Brackets and wires make it a little harder to clean, so we want your mouth in good shape from day one. Your regular dentist can help with cavities or a deep cleaning if needed.
What About Tooth Removal?
You may have heard that braces always mean pulling teeth. That’s a myth! Whether any teeth need to be removed depends entirely on your case. Many patients never need an extraction. Your orthodontist decides this as part of your personal treatment plan, never as a routine step.
Choosing Your Braces Type
This is also when you pick the style that fits your life. Options include traditional metal braces, ceramic braces, and custom braces. Curious about the differences? Check out our breakdown of braces types to see which one feels right for you.
3. Installation Day: Cleaning and Prepping Your Teeth
The big day has arrived! Take a deep breath. You’re about to start something exciting.
Your appointment usually begins with a quick, gentle cleaning. Here’s how the first part of the braces installation process typically goes:
- You sit back in a comfortable chair, and your teeth are polished clean.
- A small cheek retractor keeps your lips and cheeks out of the way.
- Your teeth are dried so the adhesive can bond properly.
- A special conditioning gel may be applied to help the brackets hold on tight.
The cheek retractor might feel a little awkward, kind of like a forced smile. But it doesn’t hurt, and it helps your orthodontist work quickly and accurately.
4. Bonding the Brackets to Your Teeth
Now for the main event. Each bracket is a tiny piece that acts like a handle for moving a tooth. Your orthodontist places them one at a time, using your treatment plan as a map.
Here’s how bonding works:
- A small amount of dental adhesive goes on the back of each bracket.
- The bracket is placed on the tooth in its exact, planned position.
- A special curing light is held near the bracket for a few seconds to harden the adhesive.
- Extra adhesive is cleaned away so everything feels smooth.
You’ll hear a little clicking and humming, and you may taste something a bit funny. That’s totally normal! Most people say this part feels more strange than painful.
Why Placement Matters So Much
Brackets are placed with careful precision because their position controls how each tooth moves. That’s why choosing an experienced specialist makes a real difference. Learn more in our post on why board certified orthodontist care matters.
5. Threading the Archwire and Adding Bands or Ties
Once every bracket is in place, it’s time to add the archwire. This thin metal wire runs through all the brackets and does the gentle work of guiding your teeth.
Your orthodontist threads the wire through each bracket. Then it’s held in place with small elastic modules, which are those tiny colored rubber bands, or with other clips.
This is the fun part for many teens and kids. You often get to pick elastic colors! Want school spirit? Choose your team colors. Want something subtle? Go clear or silver. Our guide to colored braces has plenty of ideas.
Once the wire is secure, your orthodontist checks the fit, trims any extra wire, and makes sure nothing is poking you. Then you grab a mirror and see your new look. Many patients are surprised by how quickly they get used to it.
6. Aftercare: What to Know Once Your Braces Are On
The appointment is done, but the learning is just beginning. Here’s how to feel your best in those first days and beyond.
How Long Does the Appointment Take?
Most people spend around one to two hours in the chair for full braces. Exact timing depends on your case and which teeth are getting brackets. Your team will give you a good idea at your consultation.
Does It Hurt?
The fitting appointment itself is generally not painful. You may feel pressure, and keeping your mouth open can get tiring. The soreness usually shows up a few hours later. Teeth often feel tender for the first few days, especially when chewing. Our article Are Braces Painful? Dr. Chacon Shares What to Expect goes deeper on this.
Here are simple ways to feel better fast:
- Stick to soft foods like yogurt, mashed potatoes, soup, and pasta.
- Use orthodontic wax over any bracket or wire that rubs your cheeks or lips.
- Rinse with warm salt water to soothe sore spots.
- Take an over-the-counter pain reliever if your orthodontist says it’s okay.
Eating With Braces
Hard, sticky, and chewy foods can break brackets or bend wires. Think popcorn, hard candy, caramel, and chewing on ice. Not sure what’s safe? Our lists of foods to avoid with braces and braces-friendly snacks will keep you covered.
Cleaning Your Teeth With Braces
Good hygiene matters more than ever once braces are on. Food and plaque love to hide around brackets. Here’s a simple routine:
- Brush after meals and before bed, angling the brush toward the brackets and gumline.
- Clean between your teeth daily using floss threaders, a water flosser, or interdental brushes.
- Use a fluoride rinse if your orthodontist recommends one.
- Keep your regular dental cleanings on the calendar.
For step-by-step help, read how to brush and floss with braces effectively.
What Happens After Installation Day?
Braces are a journey, not a one-day event. After installation, you’ll visit for regular check-ups so your orthodontist can track progress and make small adjustments.
| Topic | Typical Range | Source |
|---|---|---|
| Adjustment visits (NHS guidance) | About every 6 to 8 weeks | NHS |
| Adjustment visits (AAO range) | About every 4 to 12 weeks | AAO |
| Median appointment interval (2025 AAO survey) | 6 weeks | AAO |
| Common total treatment time | About 12 to 24 months | AAO |
Keep in mind these are general ranges. Your own timeline depends on your bite, your goals, and how well you follow your plan. Simpler cases may finish sooner, while more complex ones can take longer. To plan ahead, see our post on how long braces treatment takes.
What Happens at Adjustment Visits?
At each check-up, your orthodontist may swap your wire, change your elastics, and check how your teeth are moving. These visits are usually quick. Learn more about what really happens during braces tightening.
Retainers: The Final Step
When your braces come off, your work isn’t quite finished. Teeth like to drift back to where they started, so a retainer holds your new smile in place. Wearing it as directed is the best way to protect your results. Explore your options in our guide to retainers and keeping your smile straight for life.
Braces Installation for Different Ages
The process looks similar for everyone, but each age group has its own little wins.
For Kids and Parents
If your child is getting braces, a calm, positive attitude helps a lot. Talk about the appointment ahead of time, pack soft snacks, and let them pick fun colors. Our guide on what to expect at your child’s first visit can ease nerves for the whole family.
For Teens
Teens often juggle school, sports, and social plans. The good news is braces fit right in. Ask about a mouthguard for sports, and keep wax handy in your backpack. Many teens say they stop noticing their braces within a couple of weeks.
For Adults
Adults often worry braces will clash with work life. In reality, more professionals than ever are straightening their teeth. Modern options can be low-profile and comfortable. Our article on why more adults choose braces later in life shares why it’s never too late.
Braces or Clear Aligners: Is Installation Different?
Yes, quite a bit! Braces are bonded to your teeth and stay on 24/7. Clear aligners are removable trays that you switch out every so often. There’s no bonding appointment with aligners, but you need to wear them most of the day for them to work.
Not sure which suits your smile? Our comparison of traditional braces vs. clear aligners breaks down the pros and cons.
Why Choose Chacon Orthodontics for Your Braces Installation?
Your braces experience should feel comfortable, clear, and personal. At Chacon Orthodontics, Dr. Omar Chacon is a board-certified orthodontist with more than 10 years of experience. He uses advanced technology like 3D digital imaging to plan treatment with care.
We also offer bilingual care in English and Spanish, so every family member feels understood. With locations in Westchase and Brandon, we’re close to home for many Tampa Bay families. Want to hear from real patients? See what our Chacon Orthodontics Brandon patients say on Google. You can also follow our smile stories on Instagram and Facebook, or connect with Dr. Chacon on LinkedIn.
Ready to Start Your Braces Journey?
The braces installation process is simply a series of small, manageable steps. First comes a thorough exam, then a clean and healthy mouth. Next come brackets, a wire, and a little coaching on how to care for your new smile. Some tenderness is normal, but it passes, and the results are worth it.
If you’ve been wondering whether braces are right for you or your child, the best next step is a friendly chat with a specialist. Book your free consultation today, or contact us with any questions. We can’t wait to meet you and help you smile with confidence in 2026!
FAQs
Q: What happens during a braces installation appointment?
A: Your orthodontist cleans and dries your teeth, bonds small brackets to each tooth with dental adhesive, and sets them with a curing light. Then an archwire is threaded through the brackets and secured with small elastic ties or clips. It’s a calm, step-by-step process.
Q: Does getting braces installed hurt?
A: The fitting itself is generally not painful, though keeping your mouth open can feel a bit awkward. Your teeth may feel tender a few hours later and for the first few days. Soft foods, orthodontic wax, and a pain reliever approved by your orthodontist can help.
Q: How long does it take to get braces put on?
A: Most people spend about one to two hours in the chair for full braces, depending on the case. Your orthodontist can give you a more exact estimate when you plan your visit.
Q: How often do I need appointments after getting braces?
A: Adjustment visits are commonly scheduled every 4 to 12 weeks, with many patients seen about every 6 to 8 weeks. The exact timing depends on your treatment stage and your orthodontist’s plan.
Q: Why do I need a retainer after braces come off?
A: Teeth naturally want to shift back toward their old positions. A retainer holds your teeth in their new spots while the surrounding bone and gums settle. Wearing it as directed protects all the hard work you put in.