Key Takeaways
-
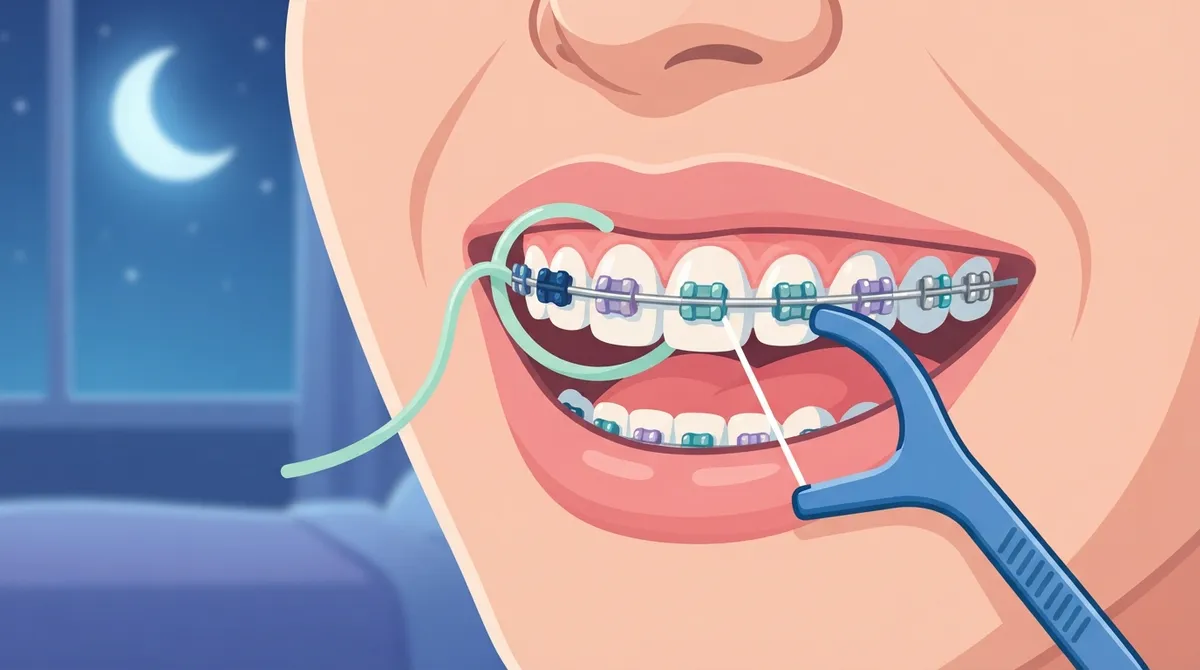
Floss at least once a day during braces treatment, as recommended by both the AAO and ADA, ideally at a consistent time like bedtime to make it a habit.
-
Use a floss threader or pre-threaded orthodontic flosser to get regular floss under the archwire, then slide it gently between teeth without snapping it onto the gums.
-
Curve the floss into a C-shape around each tooth and clean just below the gumline, where plaque tends to hide.
-
Never pull the floss straight up on the wire; ease it out sideways to avoid bending wires or loosening brackets.
-
Floss before brushing if it feels natural, since the AAO notes this may help clear plaque and let fluoride reach more tooth surfaces.
-
Add an interdental brush or water flosser for extra cleaning around brackets, but ask your orthodontist whether it should replace or supplement string floss.
Let’s be honest: flossing with braces can feel like a tiny wrestling match. The wire gets in the way. The floss shreds. Your arms get tired. And at the end of a long day, it is tempting to skip it altogether. If that sounds like you, take a deep breath. You are not alone, and you are not doing anything wrong.
The good news is that flossing with braces gets easier with the right tools and a little practice. Braces add extra spots where plaque and food like to hide, so cleaning between your teeth matters even more during treatment. This guide shares 14 friendly, practical tips for kids, teens, and adults. Whether you are a parent helping a child, a busy professional, or a teen juggling school and sports, you will find a method that fits your life. Let’s make flossing something you can do with confidence.
Why Flossing With Braces Matters So Much
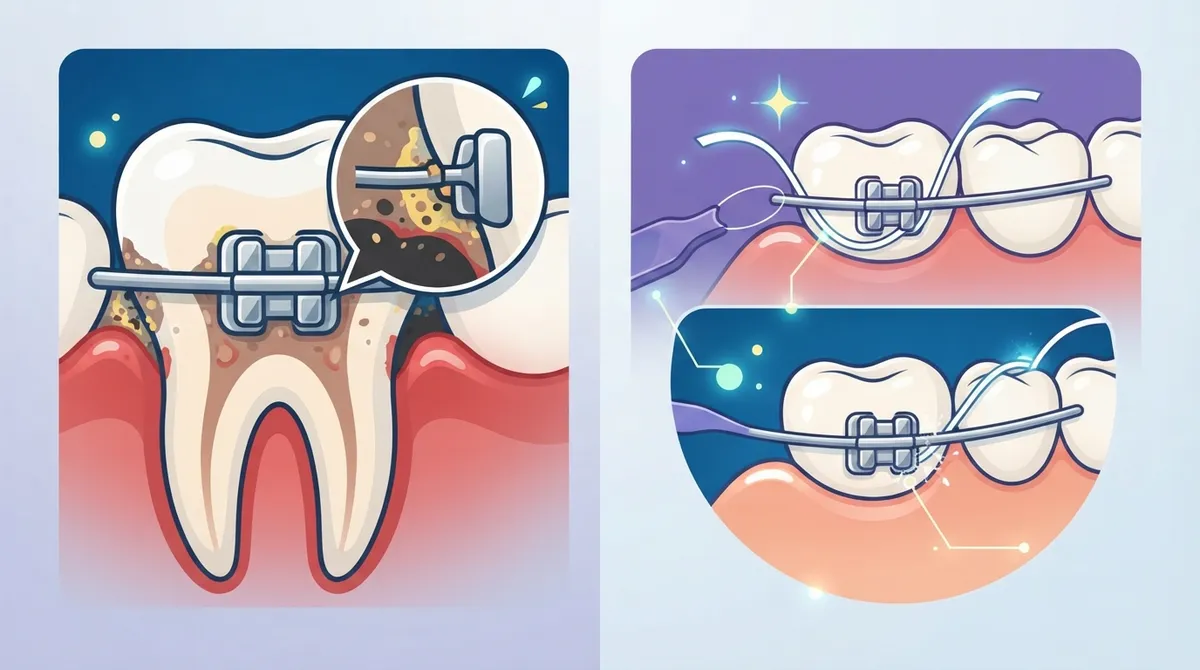
Brackets and wires create lots of small ledges and corners. Food and plaque collect there, and a toothbrush alone cannot reach the tight spaces between your teeth. When plaque stays put, it can lead to swollen gums, cavities, and white spots on your teeth once the braces come off.
The American Association of Orthodontists (AAO) advises flossing at least once a day during orthodontic treatment. The American Dental Association (ADA) also recommends cleaning between your teeth once daily with floss or another interdental cleaner. In other words, this is a small daily habit that protects the smile you are working so hard to build.
If you are brand new to braces, our guide on how to brush with braces for a cleaner, healthier smile pairs nicely with the tips below.
14 Tips for Flossing With Braces
Tip 1: Make a Daily Habit, Not a Chore
Aim to floss at least once every day. Pick a time that is easy to remember, like right before bed. Tie it to something you already do, such as brushing or washing your face. Small habits stick best when they are attached to existing routines.
Tip 2: Start With a Floss Threader
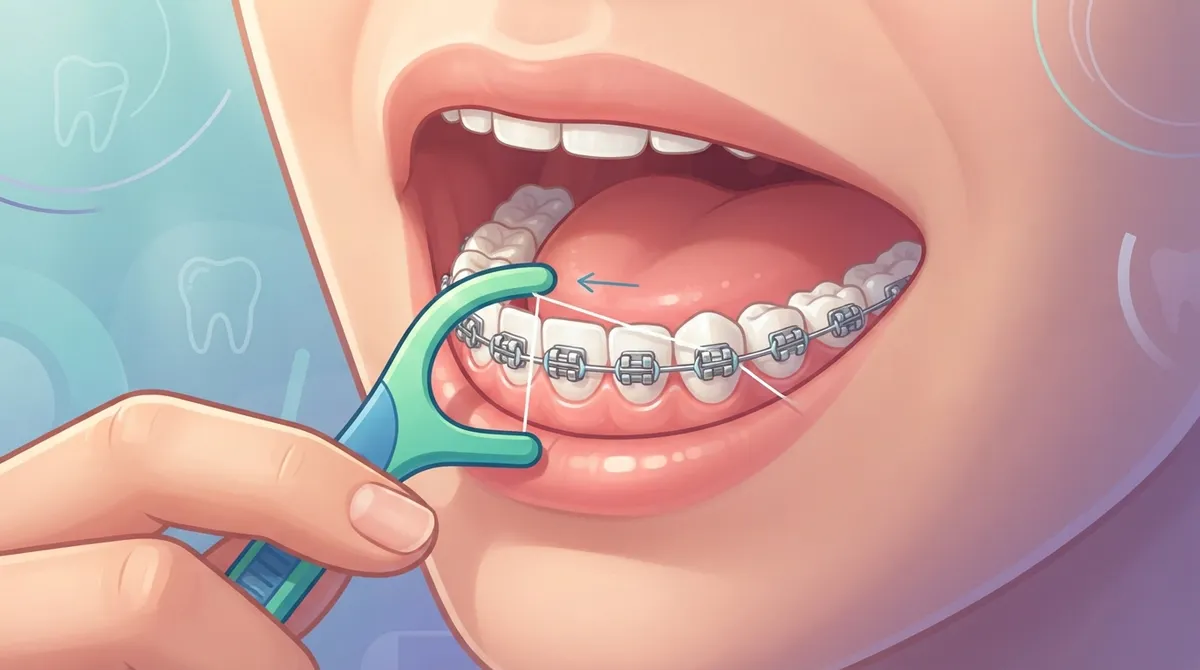
A floss threader is a small, flexible loop that works like a needle. You slide a piece of regular floss through the loop, then guide the threader under the archwire. It is an inexpensive tool that works with almost any type of fixed braces.
Here is how to use one:
- Cut about 18 inches of floss.
- Thread one end through the loop of the floss threader.
- Guide the stiff end of the threader under the archwire between two teeth.
- Pull the floss through until you can hold both ends.
- Remove the threader and get ready to clean.
Tip 3: Try Pre-Threaded Orthodontic Flossers
These flossers have a stiff end built right into the floss, so there is no separate threader to fumble with. They are great for busy mornings, school lunch breaks, and travel. Many patients find them the easiest option when they are just getting started.
Tip 4: Use a Gentle Sawing Motion
Once the floss is under the wire, slide it gently between your teeth. Do not snap it down onto your gums. A soft back-and-forth motion helps the floss glide in without causing soreness or bleeding.
Tip 5: Curve the Floss Around Each Tooth
Think of the floss as a hug for each tooth. Make a gentle “C” shape against one tooth and slide it up and down along the side. Then do the same on the neighboring tooth. Go just below the gumline, where plaque loves to hide.
Tip 6: Do Not Pull on the Wire
When you pull the floss back out, ease it out sideways or slide it carefully over the top of the wire. Yanking upward can bend the wire or loosen a bracket. If something does feel loose, you can learn what to do in our post on what to do about a broken braces bracket.
Tip 7: Add an Interdental Brush
Interdental brushes look like tiny pipe cleaners or bottle brushes. They fit around brackets and under wires, helping remove debris that regular floss can miss. They can be a helpful addition for some people, and your orthodontist can tell you whether one fits your needs.
Tip 8: Consider a Water Flosser
A water flosser sends a gentle stream of water between your teeth and around your brackets. It can flush out food and help clean around appliances. Many families love it, especially kids and teens who find string floss frustrating. Ask your orthodontist whether a water flosser alone is enough for you or whether it should be used alongside string floss or another interdental cleaner.
Tip 9: Pick the Right Tool for Your Situation
No single tool is perfect for everyone. Your tooth spacing, dexterity, and type of appliance all play a part. Here is a quick comparison to help you choose:
| Tool | Best For | Things to Keep in Mind |
|---|---|---|
| Floss threader with regular floss | Budget-friendly daily cleaning | Takes a bit of practice at first |
| Pre-threaded orthodontic flosser | Beginners, kids, and travel | Costs a little more per use |
| Interdental brush | Cleaning around brackets and wires | May not fit very tight spaces |
| Water flosser | Flushing out food, easy for busy people | Follow your orthodontist’s advice on whether it is enough on its own |
Tip 10: Floss Before You Brush
The ADA says either order is fine as long as your cleaning is thorough. Still, the AAO notes that flossing first may help remove plaque between teeth and let fluoride from your toothpaste reach more surfaces when you brush afterward. Try it for a week and see if it feels natural.
Tip 11: Set Yourself Up for Success
Good lighting and a mirror make a huge difference. Stand at the bathroom sink, tilt your head, and take your time. Rushing is the enemy of good flossing. Give yourself five to ten minutes at first, and you will speed up as it becomes second nature.
Tip 12: Help Your Child Get Started
Parents, this one is for you. Younger kids often need help with flossing, especially in the first few weeks of braces. Try making it a team activity. Let your child pick a flavor of floss, play a favorite song, or earn a sticker on a chart. For more guidance on when kids typically begin treatment, see when your child should really get braces.
Tip 13: Keep Supplies Everywhere
Stash a few orthodontic flossers in your backpack, purse, car, and desk drawer. That way, a lunch of corn on the cob or popcorn does not have to ruin your afternoon. Teens love this tip for after-school snacks, and working adults appreciate it before a big meeting.
Tip 14: Keep Up With Your Checkups
Even great flossing cannot replace professional care. The AAO advises professional dental cleanings at least every six months during orthodontic treatment, or more often if your dentist recommends it. Orthodontic visits do not replace routine dental care, so keep both on your calendar.
Quick Step-by-Step Routine You Can Follow
Here is a simple nightly routine that puts it all together:
- Gather your floss, threader or orthodontic flosser, and toothbrush.
- Floss between each pair of teeth, starting at the back.
- Clean both sides of each tooth and just below the gumline.
- Use an interdental brush or water flosser if your orthodontist recommends one.
- Brush for two minutes, paying extra attention to the area around each bracket.
- Rinse and check your smile in the mirror for any leftover food.
For an even more complete picture, take a look at our guide on how to keep teeth clean with braces.
Common Flossing Mistakes to Avoid
Even with the best intentions, a few habits can make flossing harder or less helpful. Watch out for these:
- Snapping the floss: This can bruise your gums and make them sore.
- Skipping the back teeth: Molars collect lots of plaque and are easy to forget.
- Using too little floss: A short piece gets shredded quickly and leaves you frustrated.
- Pulling hard on the wire: This can loosen brackets or bend wires.
- Quitting when gums bleed: Bleeding often happens when plaque has built up. It usually improves with consistent, gentle flossing, but mention it to your orthodontist if it continues.
What If Flossing Feels Sore or Difficult?
Some soreness in the first week of braces is normal, and your gums may feel a little tender when you floss. Gentle, regular cleaning usually helps your gums calm down over time. If you are also dealing with general tenderness, our tips on easing braces soreness can help you feel more comfortable.
If you have limited hand strength, a busy schedule, or other challenges, tell your orthodontist. They can demonstrate the right tools for you and suggest a routine that fits your life. That is exactly what we love to do at Chacon Orthodontics, where Dr. Omar Chacon and the team offer friendly, bilingual guidance in English and Spanish to families in Westchase and Brandon. You can also visit us on Google — Chacon Orthodontics Brandon to see what our patients have to say.
What Happens If You Skip Flossing?
Missing a day here and there is not a disaster. But skipping flossing regularly can lead to a few problems:
- Red, swollen, or bleeding gums
- Bad breath from trapped food
- Cavities between the teeth
- White spots (small marks left behind when plaque sits on enamel)
Nobody wants to take their braces off and discover marks on their teeth. A few minutes a day keeps your smile bright and healthy. For a bigger look at daily care, see our 11 braces oral hygiene habits for a healthy smile.
Flossing Tips for Different Ages
For Kids
Keep it fun and short. Use colorful tools, let them help choose, and floss together. Praise effort over perfection. Habits learned early can last a lifetime.
For Teens
Teens are busy, so convenience is key. Pre-threaded flossers and a travel kit make it easy to clean up after lunch or practice. A fresh, clean smile is a confidence booster, too. Parents can read more in our guide on how to choose braces for teenagers.
For Adults
Adult patients often balance work, family, and social events. A water flosser at home and a few orthodontic flossers at the office can make cleaning easy. Our article on braces for adults options covers treatment choices that fit a busy lifestyle.
When to Ask Your Orthodontist for Help
Reach out to your orthodontic team if you notice any of these:
- Gums that bleed for more than a week or two despite gentle flossing
- A wire that has shifted or is poking your cheek
- A loose bracket or band
- Trouble getting floss or tools to fit between your teeth
Your orthodontist can show you the right technique in person and adjust your plan as treatment moves along. Curious about what to expect from start to finish? Take a look at the braces treatment steps from start to finish.
Keep Your Smile Shining With a Little Daily Care
Flossing with braces may feel awkward at first, but it becomes second nature with practice. Start small, choose tools that feel comfortable, and be gentle with yourself while you learn. Every minute you spend cleaning between your teeth is an investment in a healthy, confident smile when your braces come off.
Want hands-on help with your routine, or thinking about starting treatment? We would love to meet you. Our team offers friendly, personalized care for kids, teens, and adults in Westchase and Brandon, plus helpful updates on Instagram and Facebook, and you can also connect with Dr. Chacon on LinkedIn. Ready to take the next step? Book your free consultation today, and let’s build a smile you will love to show off.
FAQs
Q: How do you floss with braces?
A: Thread regular floss under the archwire using a floss threader, or use a pre-threaded orthodontic flosser. Then gently slide the floss along the sides of each tooth and just below the gumline. Be careful not to snap the floss or pull hard on the wire.
Q: How often should you floss when you have braces?
A: The American Association of Orthodontists advises flossing at least once a day during treatment. Pick a time you can stick with, like bedtime, so it becomes an easy habit. Consistency matters more than perfection.
Q: Can you use a water flosser instead of string floss with braces?
A: A water flosser can help flush out food and clean around brackets, and many people find it easier to use. Whether it can fully replace string floss depends on your needs, so ask your orthodontist what is best for you. Many patients use both for the most thorough clean.
Q: Should you floss before or after brushing with braces?
A: Either order works as long as your cleaning is thorough, according to the ADA. The AAO notes that flossing first may help clear plaque between teeth and let fluoride reach more surfaces when you brush. Choose the order you are most likely to stick with.
Q: What happens if you do not floss regularly while wearing braces?
A: Plaque and food can build up around your brackets and between your teeth. Over time, that can lead to swollen gums, bad breath, cavities, and white spots on your teeth. A little daily flossing goes a long way toward protecting your smile.